We've all been there: you record a perfect podcast intro, a crucial interview, or a voiceover for your video, only to listen back and hear the distinct hum of an air conditioner, the buzz of traffic, or the hiss of a poor microphone connection. Background noise can ruin an otherwise great recording, making it sound amateur and distracting listeners from your message.
Historically, fixing this meant investing in expensive software like Adobe Audition or learning complex interfaces like Audacity. But today, you can achieve professional-sounding results directly in your web browser, completely for free.
In this comprehensive guide, we'll dive deep into audio restoration. You'll learn not just how to clean your audio, but why noise happens and how to prevent it in the future.
Understanding Audio Noise: What Are You Fighting?
Before fixing the problem, it helps to understand what kind of noise you're dealing with. Most common recording issues fall into three categories:
- Broadband Noise (Hiss/Static): This is the constant "shhh" sound often caused by low-quality preamps, microphones, or gain set too high. It's spread across the frequency spectrum.
- Tonal Noise (Hum/Buzz): Usually a consistent low-frequency sound (like 50Hz/60Hz electrical hum) or high-pitched whine from grounding issues or air conditioners.
- Impulse Noise (Clicks/Pops): Sudden, short sounds like lip smacks, plosives (p-pops), or crackles.
Our Audio Tools are designed to handle broadband and tonal noise effectively through spectral subtraction, a fancy way of saying "we identify the noise fingerprint and remove it."
Why Use Browser-Based Audio Tools?
Is it really better to use an online tool versus a downloaded program? For most creators in 2026, the answer is a resounding yes.
| Feature | Desktop Software (e.g., Audacity) | Online Tools (Our Solution) |
|---|---|---|
| Setup Time | High (Download + Install) | Instant (Zero Installation) |
| Learning Curve | Steep (Complex Interface) | Minimal (Drag & Drop) |
| Privacy | High (Local) | High (Local processing via WebAssembly) |
| System Impact | Uses Disk Space & Registry | Zero Footprint |
| Accessibility | Device Specific | Any Browser (Mac, Win, Linux) |
Unlike many other online converters that upload your files to a server (risking privacy and taking time), our tools process your files locally in your browser. Your sensitive recordings never leave your device.
Step-by-Step Guide to Crystal Clear Audio
Follow this workflow to transform your raw recording into professional audio.
Step 1: Remove Constant Background Noise
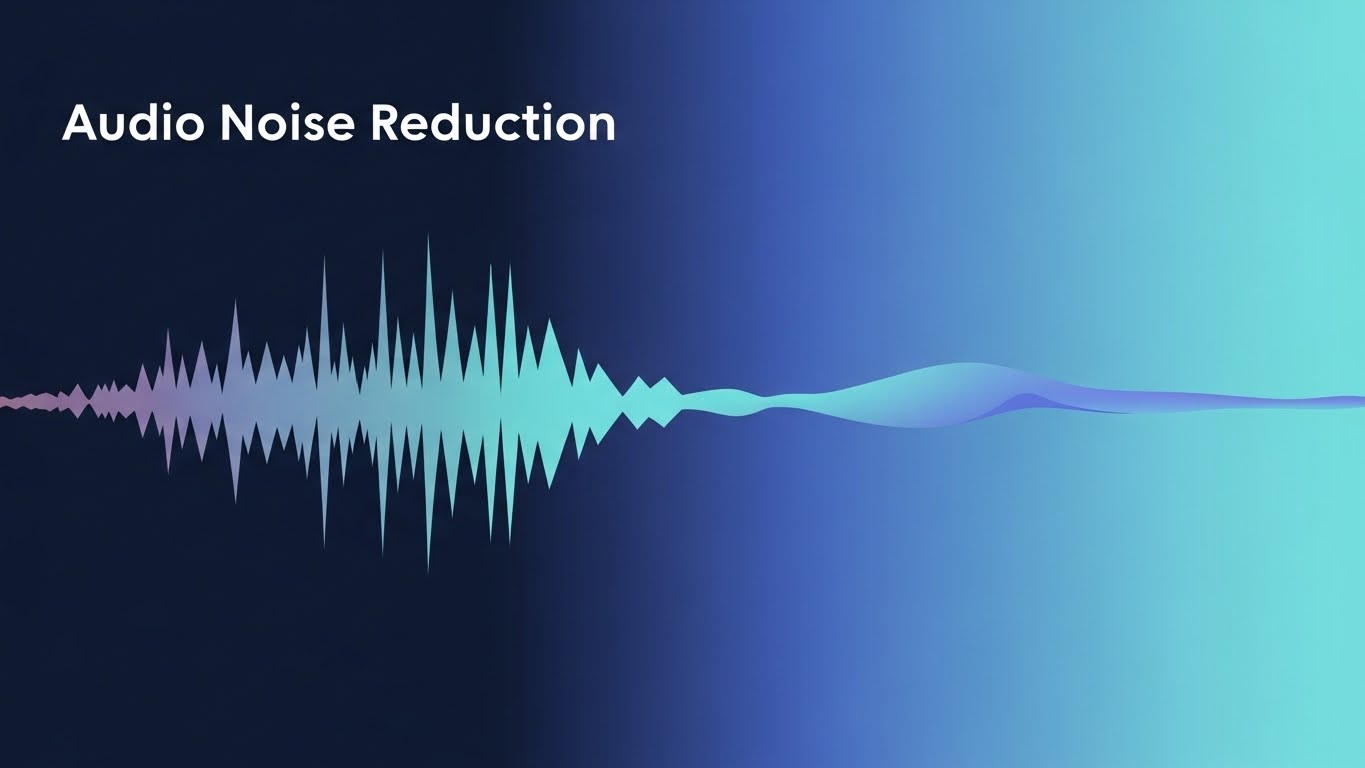
The first and most important step is to strip away that unwanted hiss and hum. Our Noise Reduction tool uses advanced algorithms to identify and suppress background frequencies while keeping your voice clear.
- Navigate to the Noise Reduction Tool.
- Upload your file: Drag and drop your noisy audio file (MP3, WAV, M4A, etc.) into the browser window.
- Process: The tool will automatically analyze the audio profile. It looks for "steady-state" noise—sounds that don't change much over time.
- Preview & Download: Listen to the result. You should notice a significant drop in static and background rumble.
[!TIP] > Pro Tip: To get the best noise reduction results, always leave 3-5 seconds of "room tone" silence at the beginning of your recording. This gives the algorithm a clean sample of your environment's noise profile to analyze and remove.
Step 2: Trim and Tighten
Cleaning audio isn't just about denoising; it's also about pacing. Long silences at the start/end or interruptions need to go.
- Head over to the Audio Trimmer.
- Load your cleaned audio: Upload the file you just downloaded from the noise reduction tool.
- Select the region: Use the visual waveform editor. You'll see the peaks (speech) and flat lines (silence).
- Cut: Drag the handles to remove the "dead air" before you start speaking and after you finish. This instantly makes your recording sound more professional.
Step 3: Transcribe for Accessibility (Optional)
Great audio deserves to be read, too. Converting your audio to text boosts SEO and makes your content accessible to the deaf or hard of hearing.
- Go to the Transcribe Tool.
- Upload: Select your newly polished audio file.
- Generate Text: Our browser-based AI will convert your speech to text in seconds.
- Export: Copy the text for your blog post, YouTube description, or show notes.
Step 4: Convert to the Right Format
Different platforms require different audio formats. Don't let a "file format not supported" error stop you.
- MP3: Best for sharing, podcasts, and web use (small file size).
- WAV: Best for archiving and video editing (lossless quality).
- AAC/M4A: Standard for Apple devices.
Use the Audio Converter to switch your file to the perfect format for your destination.
5 Common Recording Mistakes to Avoid
Prevention is better than cure. Avoid these mistakes to reduce the amount of "fixing" you need to do later:
- Recording in an Empty Room: Hard surfaces creating echo/reverb. _Fix: Record in a closet or put blankets around you._
- Mic Too Far Away: Forces you to boost gain, raising the noise floor. _Fix: Keep the mic 6-12 inches from your mouth._
- Not Monitoring Audio: Recording without headphones. _Fix: Always wear headphones to hear interference immediately._
- Ignoring the Input Gain: Setting levels so high they clip (distort). _Fix: Aim for peaks around -6dB to -12dB._
- Recording Near Noisy Appliances: Fridges and PCs are loud. _Fix: Move away or turn them off temporarily._
Frequently Asked Questions (FAQ)
Will noise reduction lower the quality of my voice?
Heavy noise reduction can sometimes make voices sound "underwater" or robotic. Our tool balances noise suppression with voice preservation. If your audio is extremely noisy, try running the process twice at a moderate setting rather than once aggressively.
Is my audio secure?
Yes. This is our key differentiator. We use WebAssembly technology to process audio directly in your browser. Unlike other "free" sites, we do not upload your files to any cloud server. Your data stays on your computer.
What file formats do you support?
We support all major audio formats including MP3, WAV, OGG, AAC, and M4A for both input and output.
Is there a file size limit?
Since processing happens locally, the limit depends more on your computer's RAM than our server. However, for browser performance, we generally recommend files under 2GB or 1 hour in length.
Conclusion
Cleaning up noisy audio doesn't have to be a headache or cost a fortune. By combining proper recording technique with our powerful, privacy-first free audio tools, you can produce broadcast-quality audio from the comfort of your home office.
Ready to transform your sound? Start cleaning your audio today.

